Showing posts with label Windows. Show all posts

Thursday, October 2, 2014

All of Windows (XP, Vista, 7, 8 and 8.1) DNS Cache Cleaning


DNS Cache Flush, Clear, or Reset in Windows Xp, Windows Vista, Windows 7, Windows 8 and Windows 8.1


At home, at work or anywhere in the Internet connection, you encounter unexpected problems. Change the DNS address with the state again if you connect with the old DNS will need to empty the DNS cache. This process may be the solution to the problem.
Can be cleaned in the Windows operating system cache, which has three.

Most operating systems and DNS clients will automatically cache IP Addresses and other DNS results, this is done in order to speed up subsequent requests to the same hostname. Sometimes bad results will be cached and therefore need to be cleared from the cache in order for you to communicate with the host correctly. All major operating systems allow you to force this process, outlined below are the common steps you will need to follow in order to flush your DNS cache.

Windows 8 / Windows 8.1 DNS cache cleaning


Press Win+X to open the WinX Menu.
Ensure that you're on the Windows 8 Start Screen.
Simply type cmd and the Windows search bar will appear on the right hand side with search results.
Right click on Command Prompt and click Run as administrator.
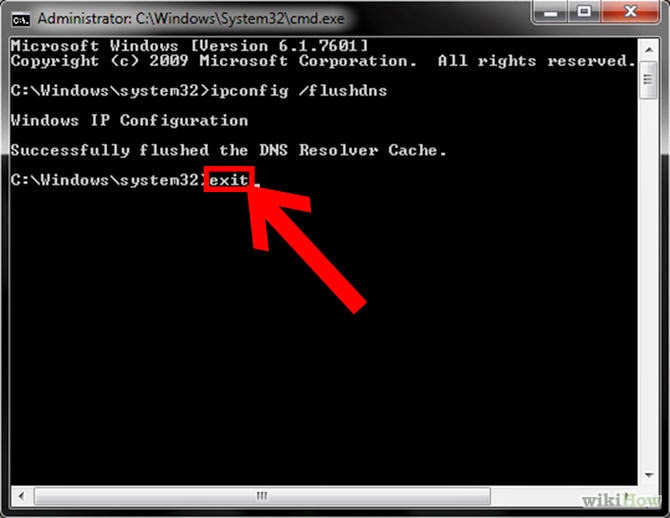
Type in the command ipconfig /flushdns
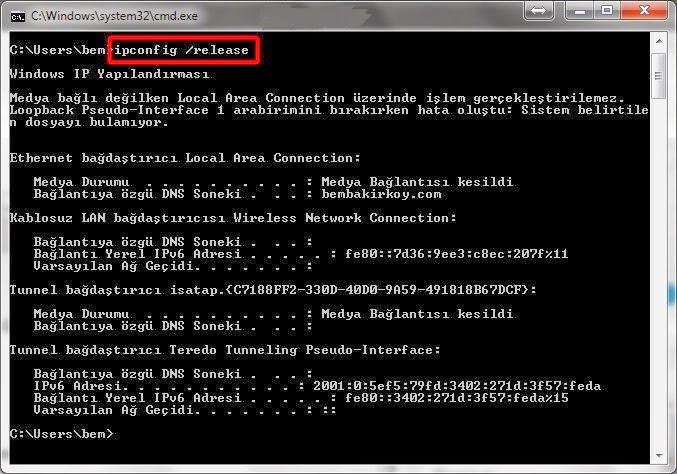
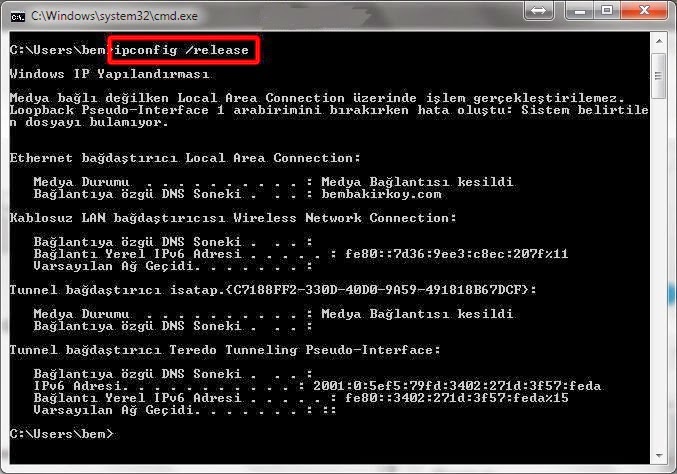
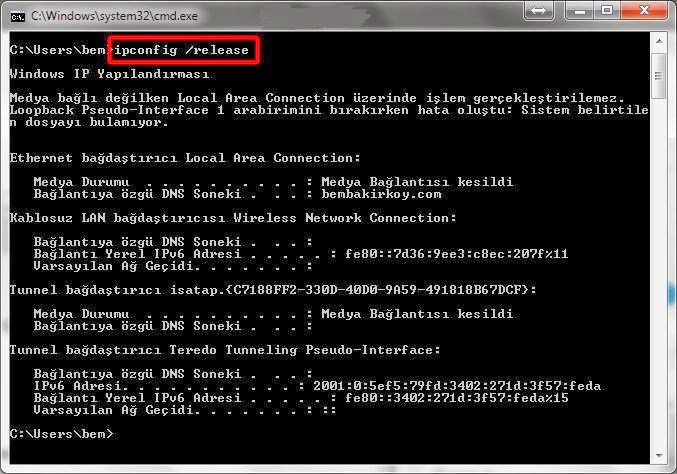
Type in the command ipconfig /release
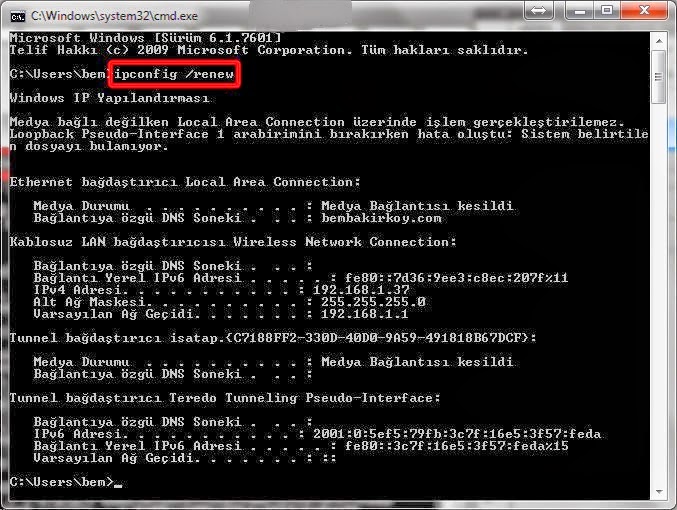
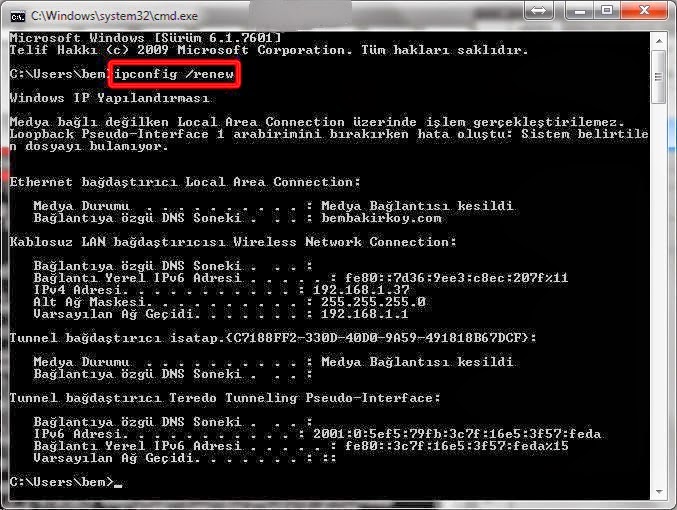
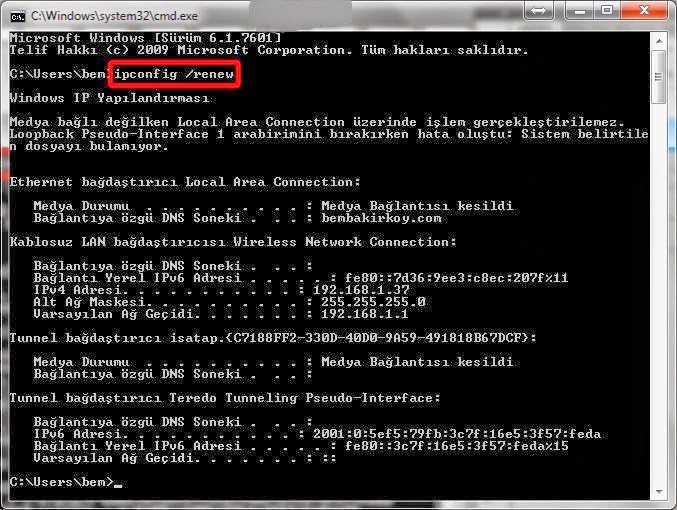
Type in the command ipconfig/renew
If the command was successful, you will see the following message:
Windows IP configuration successfully flushed the DNS Resolver Cache.
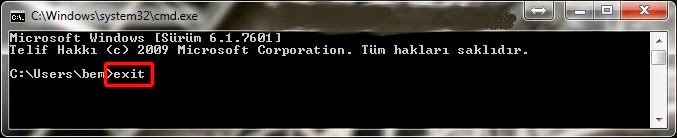
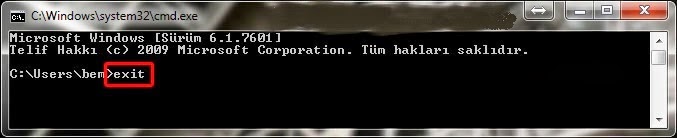
exit


Windows Vista / Windows 7 DNS cache cleaning

Click the start button and navigate to the command prompt (Start > All Programs > Accessories > Command Prompt)
Make sure that you right click on the command prompt application and choose "Run as Administrator"
Type in the command ipconfig /flushdns
Type in the command ipconfig /release
Type in the command ipconfig/renew
If the command was successful, you will see the following message:
Windows IP configuration successfully flushed the DNS Resolver Cache.
exit


Windows 98/NT/2000/XP DNS cache cleaning

Click the Start button.
On the Start menu, click Run....
If you do not see the Run command in Vista, enter run in the Search bar.
Type the following command in the Run text box:
Type in the command ipconfig /flushdns
Type in the command ipconfig /release
Type in the command ipconfig/renew
If the command was successful, you will see the following message:
Windows IP configuration successfully flushed the DNS Resolver Cache.
exit


Clear Windows DNS Cache, Clear, Reset, Flush Windows DNS Cache, clearing dns cache windows, How to clear the local DNS cache in Windows?


Web address; http://programsepetimiz.blogspot.com.tr/
E-mail address; programsepetimiz@gmail.com
Facebook address; https://www.facebook.com/programsepetimiz
Twitter address; @programsepeti ve @selimzor

Wednesday, October 1, 2014

How to Change the Windows DNS Settings? Prohibited Method Introduction to Site?


How to change DNS Servers in Windows

How to change DNS Servers in Windows 7

Access to banned sites are usually done by changing the DNS settings. Social networks and movies, series and games sharing sites that are generally prohibited.
Introduction to Banned Sites


Go to the Start Menu and click Control Panel


In the Windows Control Panel, under Network and Internet, click View network status and tasks.
 

Click the link next to Connections on the right. In this screenshot we're using a wired connection so the link is called Local Area Connection. If you're using Wireless the link will be named differently.


You'll see a connection status window, click Properties.


Select the Internet Protocol Version 4 (TCP/IPv4) item, and click the Properties button.


Select Use the following DNS server addresses, and enter:

Preferred DNS server: 212.159.13.49
Alternate DNS server: 212.159.13.50

Finally click the OK in this and the previous windows to save your changes.

The following pop-up window on the screen from the "Use DNS Server address" option we choose. areas generally preferred and alternate DNS servers are "4.2.2.1" and "4.2.2.2" We are writing and saying, okay, we are closing all the windows. 

Other DNS addresses; "4.2.2.3" and "4.2.2.4", "208.67.222.222" and "208.67.220.220" 


These amendments have changed the DNS settings after the procedure and will be able to login to banned sites.

windows 8 DNS settings to change how your windows 7 dns settings change how Windows 7 DNS Changing the TCP / IP settings change, change your DNS in Windows 7 Visual Expression, DNS settings How win7, Banned Sites Introduction to DNS, Banned Sites Entering Method, windows 7 changing DNS, Changing DNS Settings in Windows XP, Dns Changer, How to change DNS settings in Windows 7 | 8

Web address; http://programsepetimiz.blogspot.com.tr/
E-mail address; programsepetimiz@gmail.com
Facebook address; https://www.facebook.com/programsepetimiz
Twitter address; @programsepeti ve @selimzor

Sunday, September 21, 2014

Windows 7, Windows 8 and Windows 8.1 Show Hidden Files and Folders


 document will explain how to show hidden files and folders on your hard drive file system.

Access the Control Panel.
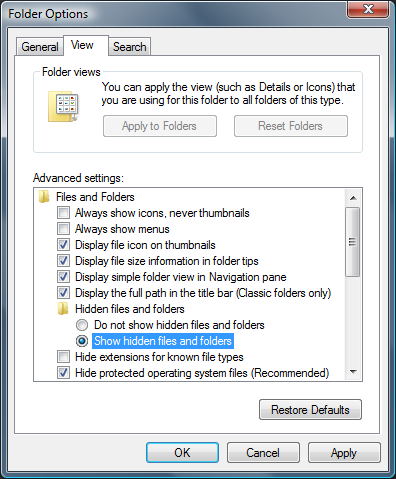
Type "folder" into the search bar and select Show hidden files and folders.
Then, click on the View tab at the top of the window.


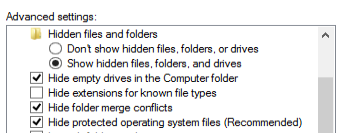
Under Advanced Settings, locate "Hidden files and folders." Select Show hidden files and folders just below that.


Click on OK.
Hidden files will now be shown when performing searches in Windows Explorer.

Windows 8 and Windows 8.1: Show or Hide Hidden Files


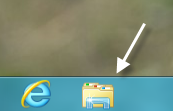
Open Windows Explorer by clicking the Explorer icon in the taskbar. Alternatively, this can be performed through the Win key + E shortcut.


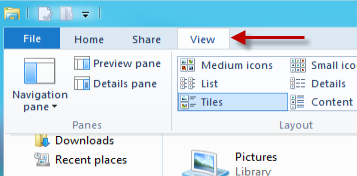
In the Explorer window, switch to the View tab.


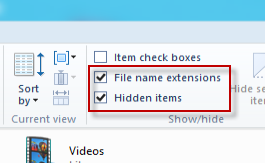
In the Show/hide section, check the box next to the Hidden items option. If you want to reveal all file extensions, choose File name extensions too.


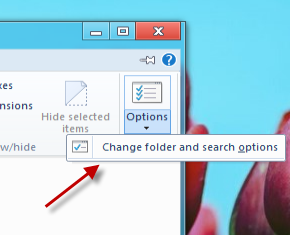
For more advanced settings, click the Options icon and choose Change folder and search options.


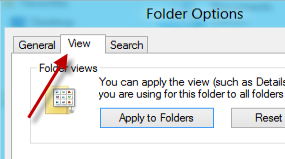
From this step, users may notice that the interface is similar to the previous Windows version. When the Folder Options window appears, make sure you are in the View tab.


The Advanced settings section offers similar settings to the previous OS. Options included: Hide empty drives in the Computer folder, Hide extensions for known file types, Hide folder merge conflicts, and Hide protected operating system files.


Site address; http://programsepetimiz.blogspot.com.tr/
E-mail address; programsepetimiz@gmail.com
Facebook address; https://www.facebook.com/programsepetimiz
Twitter address; @programsepeti ve @selimzor

Sunday, September 14, 2014

Administrator Account in Windows 8


If you are bored of your account or any of your existing windows 8 when installing the program you want to get rid of the warning windows windows 7 windows 8 as well as the "Administrator" or "Administrator account" can create.

Windows 8, as well as other versions of Windows Administrator account exists but is not enabled by default.

Enable or disable the Administrator account in Windows 8 How?

Step 1: "Windows + R" key in combination with the "Run" to open the window, and as you can see in the picture below "Lusrmgr.msc 'then' OK 'button to continue.

Step 2: Against the left side of the window to see the "Users" folder and then double-click the file to open on the right side of the "Administrator" by highlighting, right-click. Artd the "Properties" (properties) click. (Please follow the instructions in the image.)

Step 3: In the properties window that will open, as you can see in the picture below "Account is disabled" option, uncheck the box next to you. Then click the "OK" saying you can exit.

In this way, our system "Administrator" or "Administrator" account, we have enabled. If you want to set a password on the administrator account. "Administrator" option that comes up when you right-click the "Set Password" section you can put your password.